
So......an idea has been brewing in my head for some time now...... I have long been inspired by the wonderful 'Geninnes art blog' and the stamping that she does. I have been busy accumulating the various bits and pieces required to do some stamp creation. I can tell you it's taken some doing!! I've had to send for bits and pieces from all over the country!! We used to have a wonderful art shop in the town where I live, I know for a fact they would have had all these things, but in these times of recession, it closed. It was awful when it did, I knew I would struggle to find things, and they always had some new projects going off in the shop, with little workshops etc, sadly no more :(
I now have to find things on the Internet, and carefully plan any project, trying to suss out the right colours from charts etc, not so easy! So now I've had my little rant, (I know the Internet is wonderful) I will show you my little assembly of exciting stamping bits and bobs.


 I have had an idea, to make some Christmas cards, I was inspired by this book cover,(up on the right) a year ago! I love the colours here, and the snowflakes against the dark blue. So my idea was to use these colours and my red feature would be a robin, (replacing the lady). I wanted to create the distressed feel of the snowflakes, so I sent for some chalk effect ink pads, I'm looking forward to how that may look. So, I started by drawing my robin, I wanted a stylised little bird. I have some envelopes, so I knew what size to work to, then to get an idea of the size of the snowflakes, I stamped some at the side. When I was happy with my sketch, I drew it on some tracing paper...Hmmmm.....think, think, which way round do I draw this, so that when it stamps down on the paper, it's the right way round, nearly got that wrong! Then before I set about with my lino cutting tools on the lovely 'Pink Stuff' (ooh trepidation). I went to look at Geninnes little tutorial on how to do stamps, she creates a beautiful feather stamp.
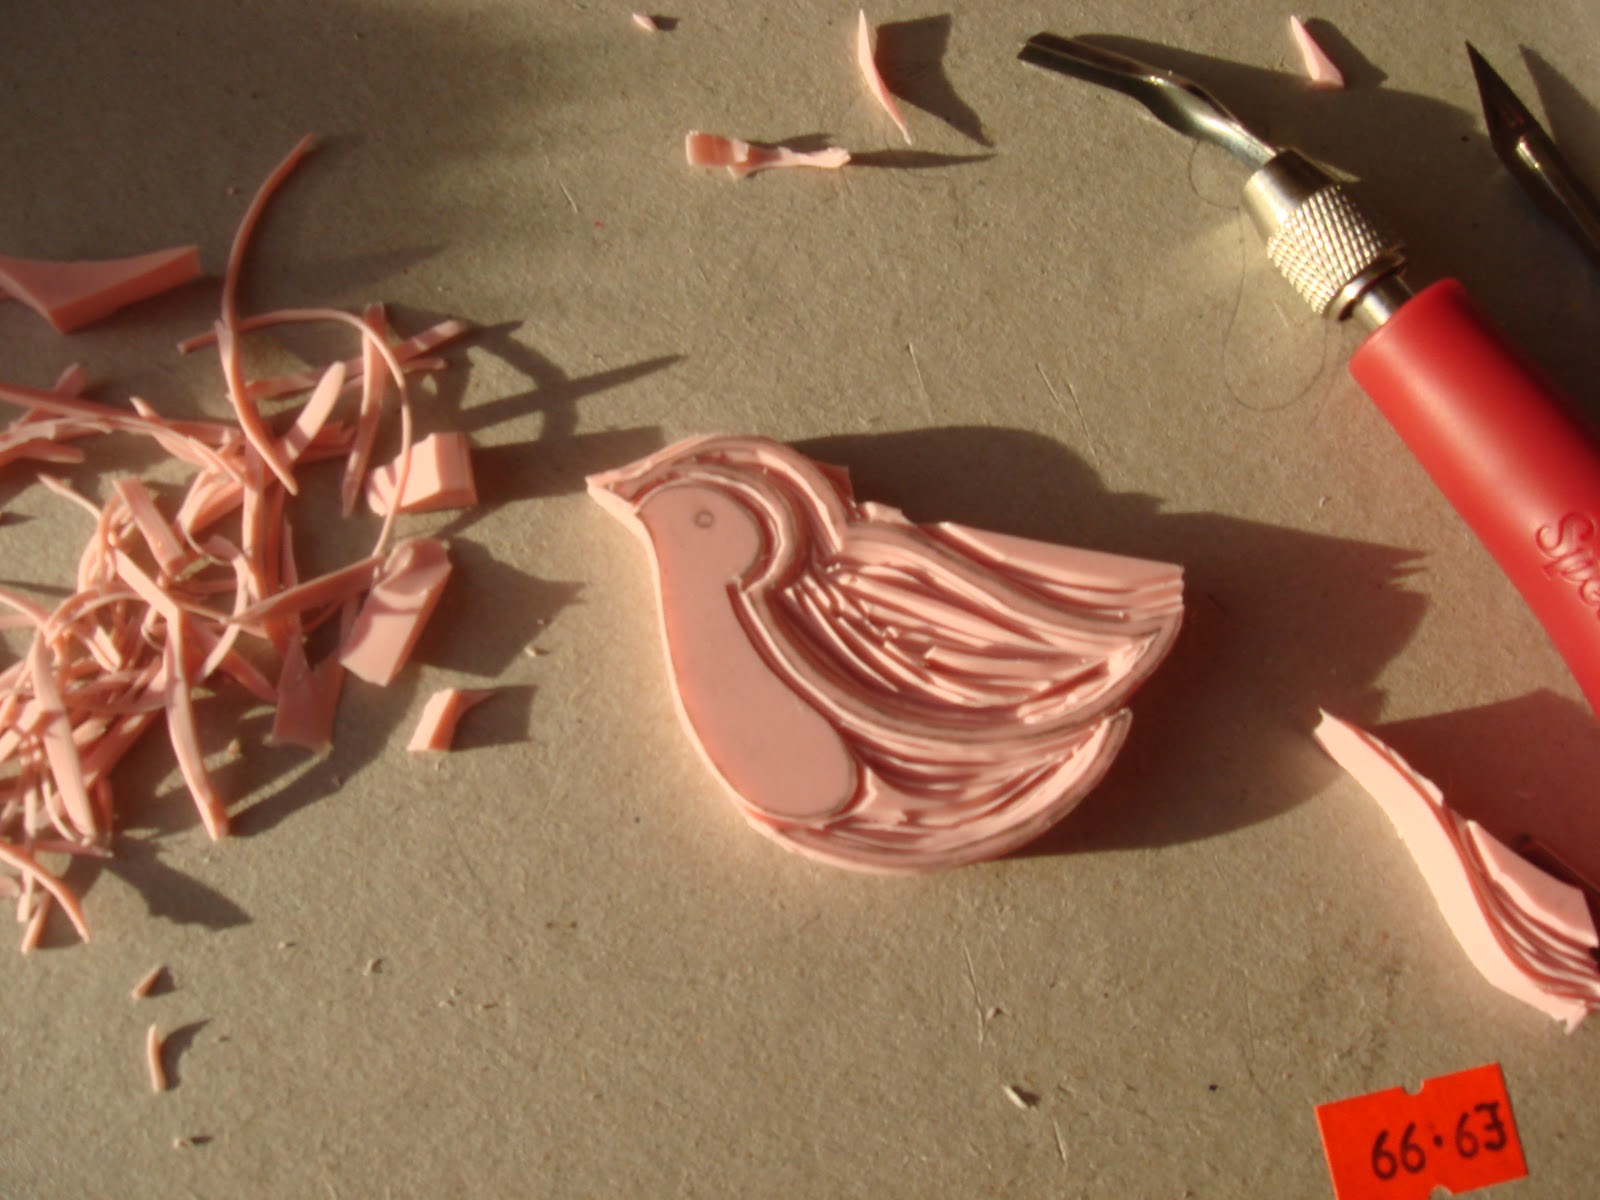
Filled full of confidence, (I can do that), I set to work. I cut a piece of the pink soft stuff, just big enough, didn't want to waste any! rubbed my image down and carefully, with the No1 cutter, started cutting away. It was easy to cut through, I just wasn't sure how deep to go, I had given myself some tricky thin lines to do! Just typical of me. But I persevered, and it looked OK.
I worked away, until it all seemed OK to go ahead and STAMP, wheeey.....this was the best bit! Only trouble was, I wanted the bird to be red, and I only had a little red ink pad, so I had to dab it on all over, wondering what the outcome would be.... well, here's my first attempt.

It's been quite a lovely experiment, I am sure I will be doing some more ideas, once I've finished this one. I will come back and show you my progress along the way. Hope you like my first foray into stamping, I thoroughly enjoyed it. Sorry if I've rambled on a bit. :)

